Modern Radio Laboratories ® /Alfred P. Morgan Mash-up
 

Analog Dial    Page 1 Page 2 Page 3 Page 4 Page 5  

Building the MRL antenna tune capacitor

 
The handbook gives explicit instructions on how to make the antenna tune capacitor. This part is absolutely essential for the set to work properly. It's just a two plate variable capacitor. Could you make one based on these drawings and the text in the handbook? Personally, I couldn't even fathom what I was looking at here.

Why was Elmer making his own capacitors in 1953? Were they really so expensive that it was cheaper to put all the parts and manpower into making an MRL version?


I wasn't sure if I should attempt this, but I had an advantage - I knew what the capacitor looked like in real life. The first step was to make the Plexiglass part. Andrea gave me some scrap Plexiglass and a cutter. The cutter is the thing that looks like a cartoon character with a big nose. His nose is a blade.

Some score marks were made with the tool and the Plexiglass was snapped off by putting it in a vise and pushing it over. The edges were very rough. That's OK for a window, but not for this. The rough edges were filed flat and the result was quite acceptable. The piece was put on top of Elmer's drawing and seemed to match up.

 
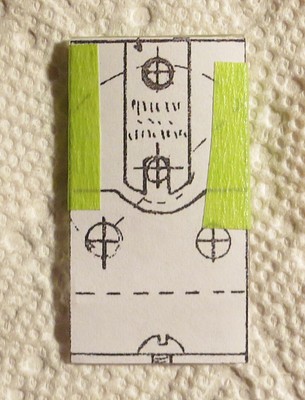
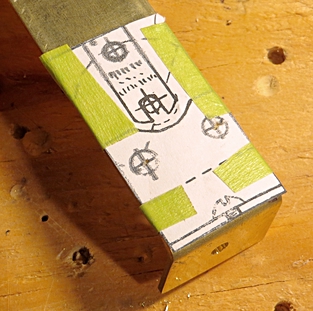
Drilling the holes. So far, so good. Now time to make the bracket.

 
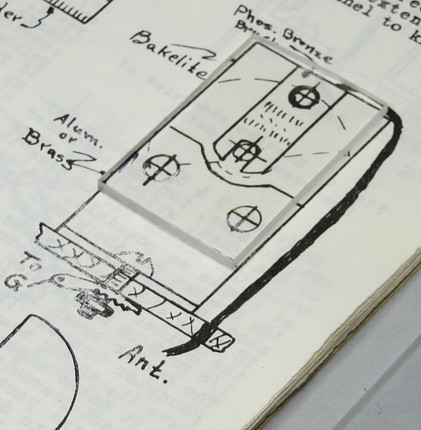
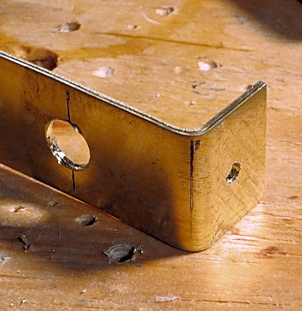
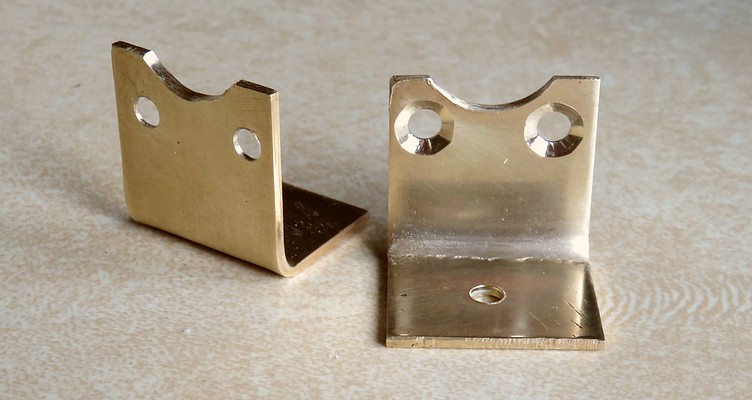
First attempt at making the brackets. These are made of aluminum flashing and are not acceptable.


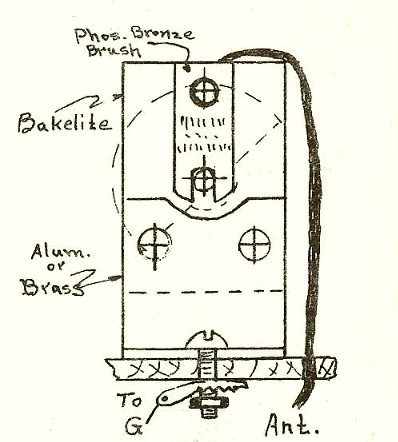
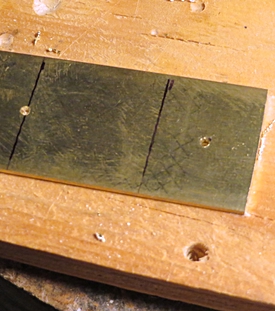
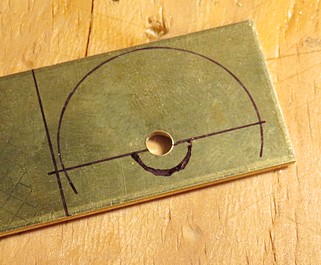
This brass bar was bought on ebay. The price was reduced because the plastic wrapper was damaged. It's 1 inch wide by 1/16 inch (.064) thick, which is what Elmer said to use. It's made in USA!
 
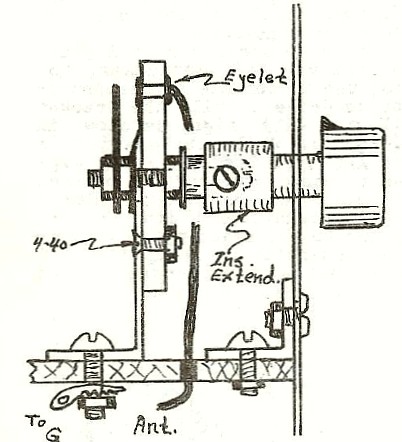
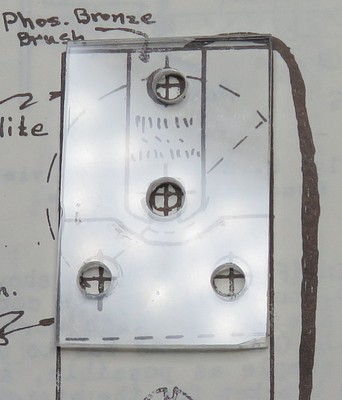
Armed with a hacksaw, a drill, a vise and a Dremel, the MRL bracket began to take shape. It's important to attach the template AFTER the bend is made. The holes need to be at the exact height or the shaft of the finished capacitor won't line up with the hole drilled in the front panel.
 
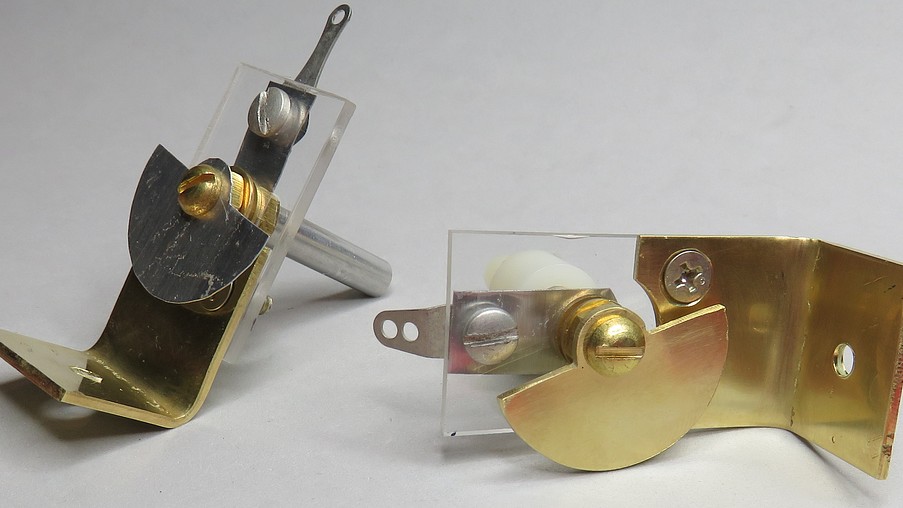
These look much better!


Making the rotor took a lot longer than I thought it would, and didn't turn out as nicely as I'd hoped.
 
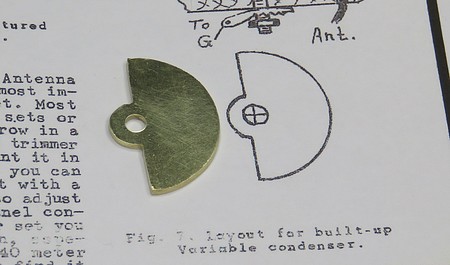
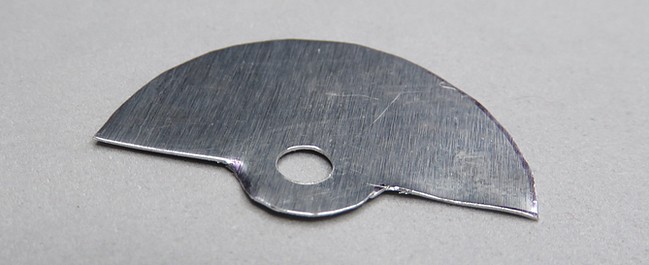
MRL style rotor. This literally took two minutes to make. The brass rotor took over an hour.

 
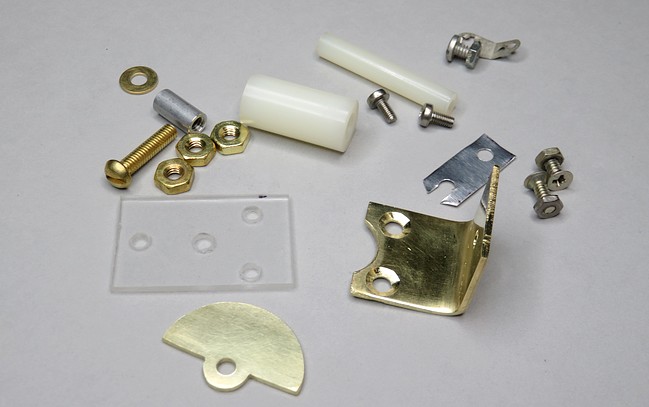
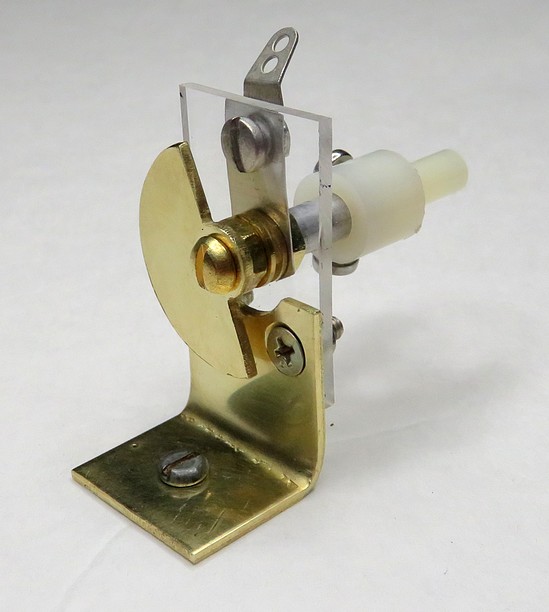
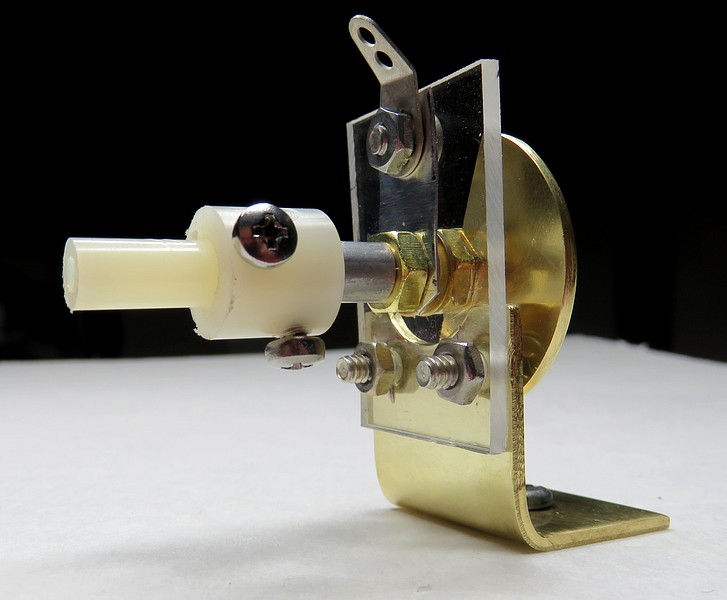
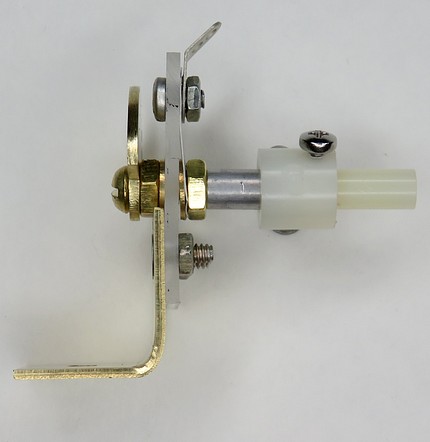
Parts needed to assemble the MRL capacitor. How could this be cheaper than buying one?

According to MRL Hand Book 12, (Work Bench Tips) during WWII you COULDN'T buy one, so Elmer made his own. Apparently he continued making them for another 40 years.
 

A 1953 Allied catalog shows the following prices for small variable capacitors with shafts:
Capacitor value in picofarads 1953 Allied Price 2022 Equivalent
1.2 to 10 $1.22 $13.60
1.5 to 5 $1.78 $19.85
2 to 7 $1.85 $20.63
3 to 15 $1.90 $21.20
   MRL Price  
MRL 2 Plate 50¢ $5.58
Elmer would have called Allied Radio "thieves" at these prices.

 
The assembled MRL capacitor.

 
Elmer Osterhoudt style! In 1986 he sold these for two dollars each, but they were made of aluminum.


I spent about six hours on these. If I had a drill press and a table saw (and my name was Elmer Osterhoudt) I can see how they could be made quickly and cheaply. Elmer probably bought the screws and other hardware by the pound. The Plexiglass (originally Bakelite) may have been scrap from a local hardware store. With the drill press you could drill through several brackets or a stack of Plexiglass at once. He could probably make 20 or more in a day.

By the way, Elmer worked six days a week, 52 weeks a year, a fact from the 1940 U.S. Census.
 

Next