|
|
|
|
|
|
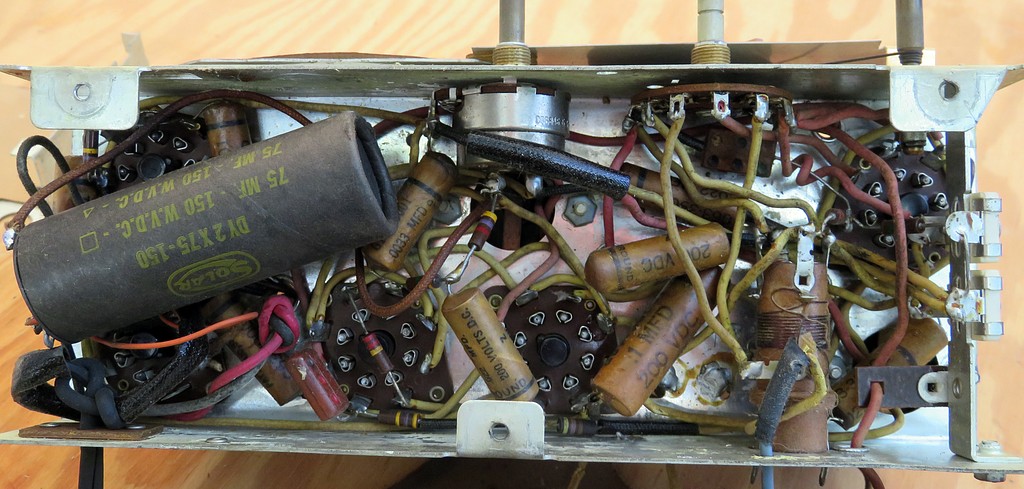
| The underside. WHAT THE
DICKENS??! Who put that huge filter capacitor in
there? It's the wrong value and definitely
the wrong physical size. It's so big that it's
DENTED on the far side from being smashed into
the radio. |
|
|
|
|
|
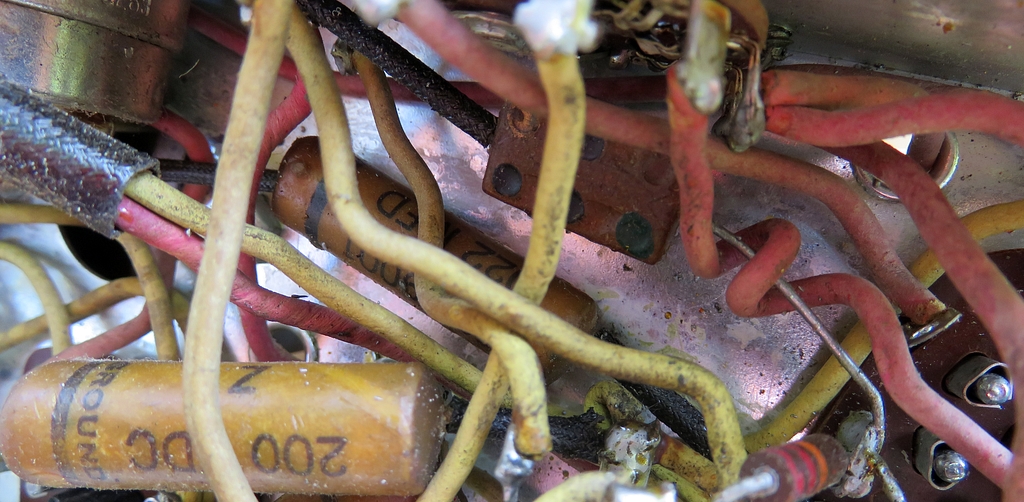
Rubber coated wire! If you've ever come
across something with an old rubber band around it, and the
rubber band is half disintegrated, you can understand the
folly of coating wires with rubber. If you touch these wires
the insulation will shatter as though it was made of ice.
Notice the red wire on the right, coiled around the
capacitor lead. That's there for a reason. What looks like a
mess under here is actually a carefully planned parts
layout. It's important to place the new parts in
approximately the same place.
There's a paper capacitor buried down there. How are you
supposed to get to that? If it was the year 1960, no
problem, just move the wires aside. But it's 2019 and the
insulation on the wires is petrified. |
|
|
|
|
|
|
|
|
|
Time to get working on the radio, but
first, some cosmic strangeness. Remember the white plug
mentioned on the previous page? I Googled this radio to see
if I could find what the original plug looked like. I found
this picture and thought, "Oh wow, it actually had a white
plug.
Then I looked closer.
This isn't a radio similar to the one I'm working on, this
IS the radio. It's the same radio!!
I got this radio from my son-in-law's mom, who got it from a
guy she works with, who said it belonged to his father, He
wanted $20 for it. So how is it that it was sold at
"Shelly's Sales?" Did the guy's father buy it and somehow
his son ended up with it? |
|
|
|
|
|
|
|
|
|
|
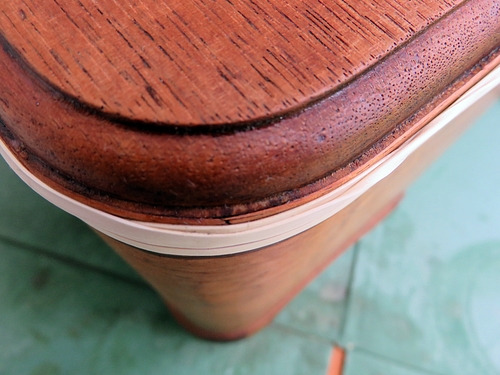
Amazingly, the paper finish protectors behind the knobs survived all
these years. |
|
|
|
|
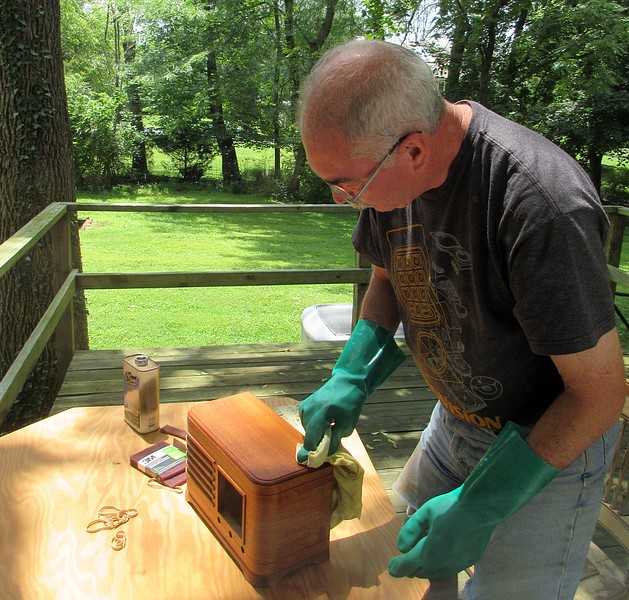
The radio is going to be restored in reverse order.
I'm going to refinish the cabinet, then work on the radio's
electronics.
I spent more money refinishing the radio cabinet than the
radio cost me. |
|
|
|
|
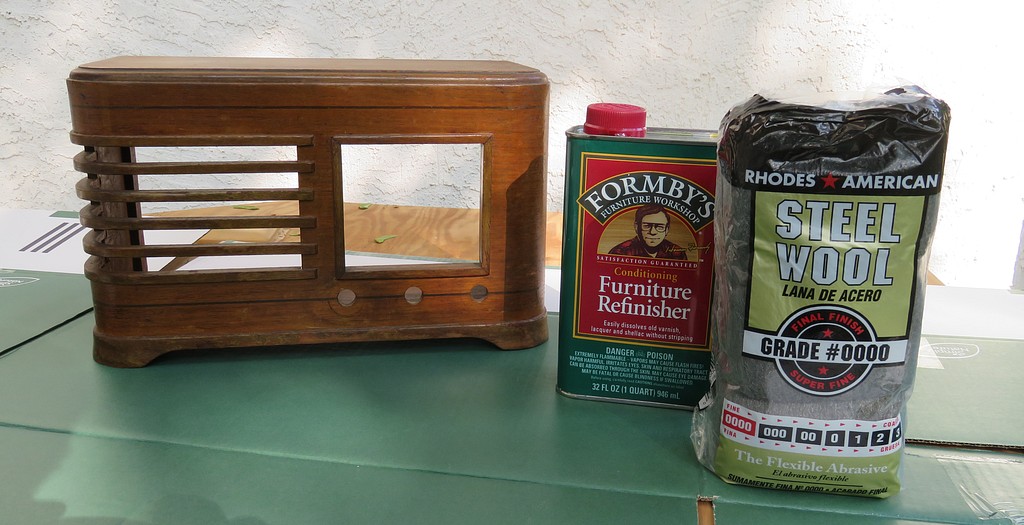
| The instructions on the Formby's
can were absolutely useless. It says to dip the
steel wool in the Formby's, melt the finish, then
dip the steel wool in the Formby's again and repeat.
All it made was a big mess. Then my gloves melted. |
|
|
|
|
|
|
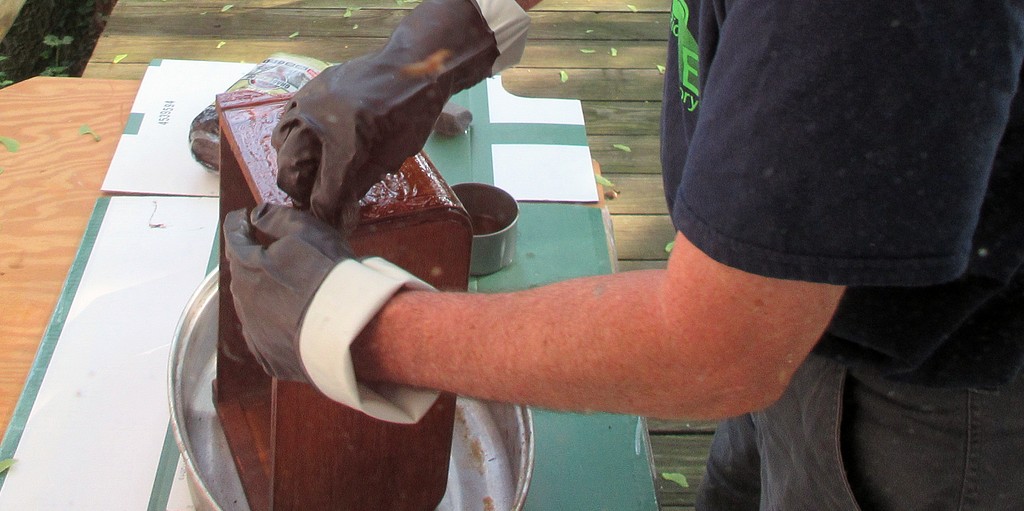
The way to do it is to melt the finish and wipe it
off with a rag (and wear gloves that don't melt). |
|
|
|
|
|
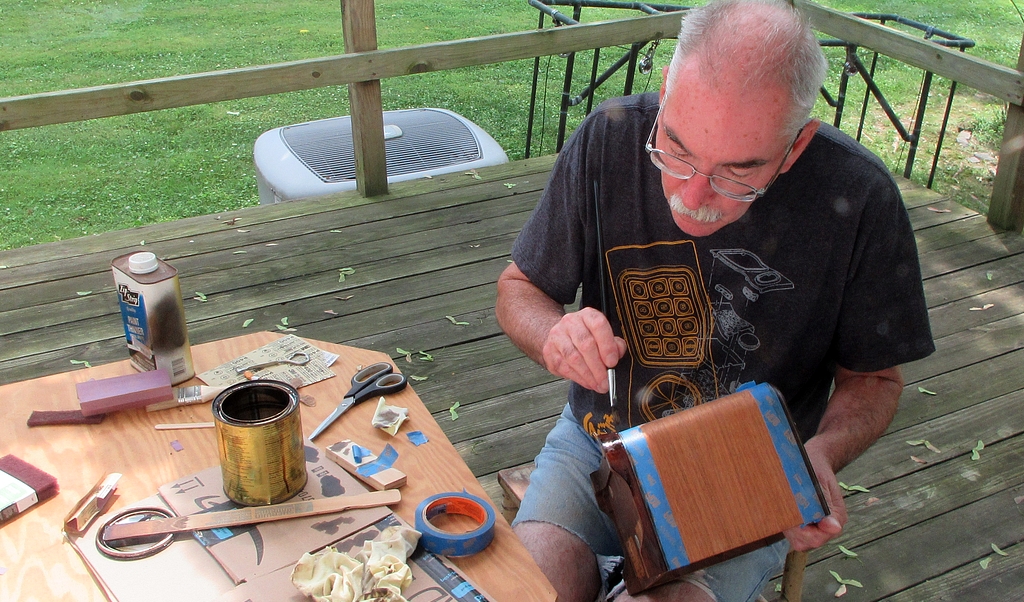
Adding some contrast to the cabinet. |
|
|
|
|
|
|
|
|
|
|
|
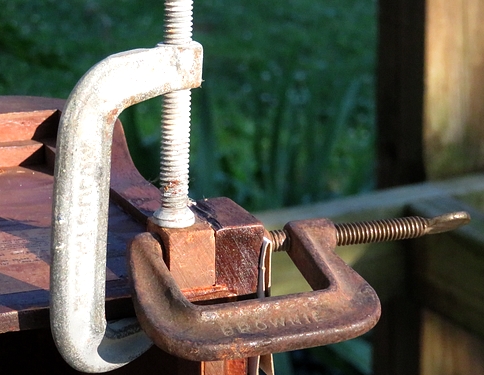
Two quick repairs. The crack in the veneer was held
in with rubber bands. When the Formby's evaporated it had glued
itself back together. |
|
|
|
|
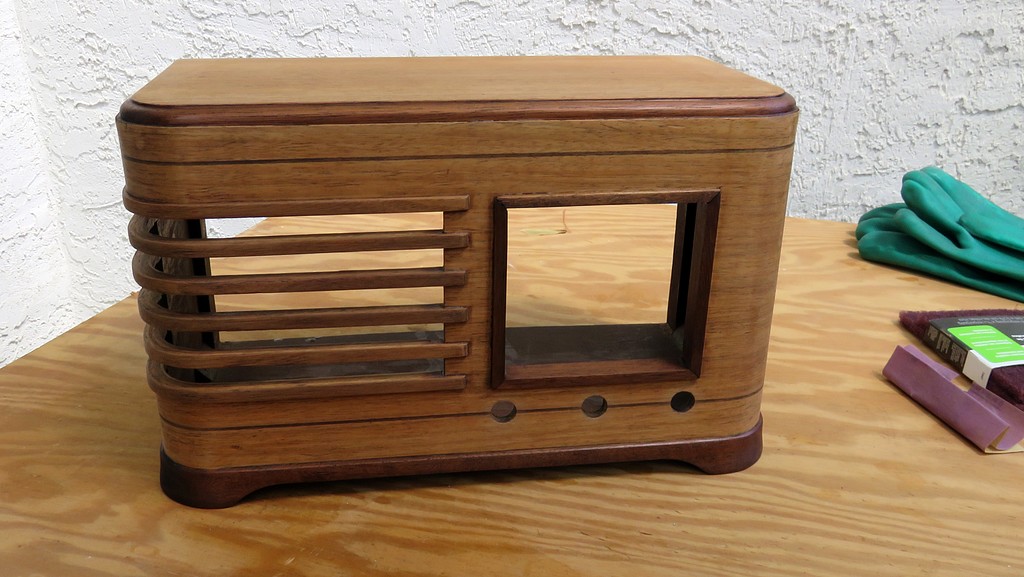
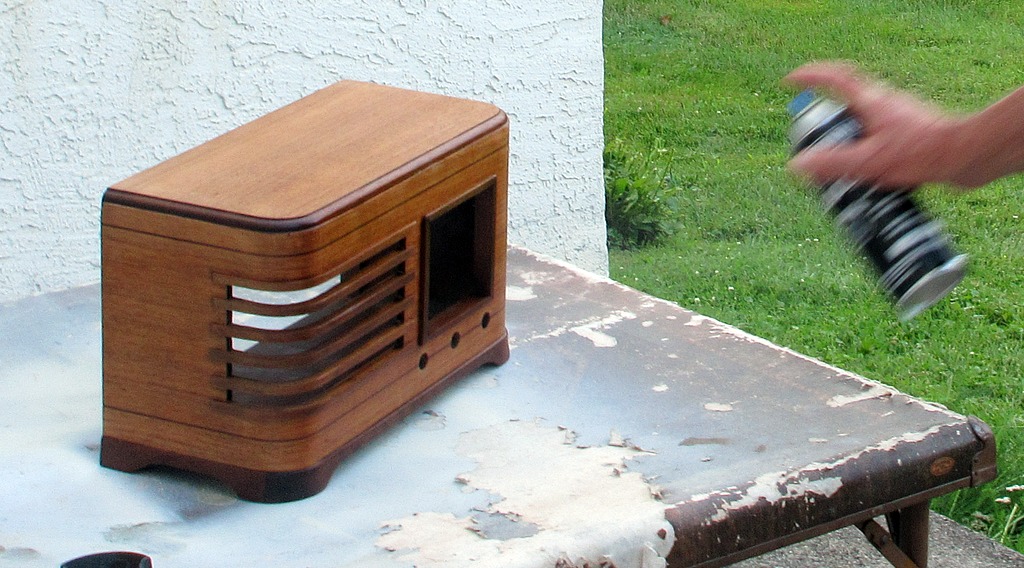
Spraying the cabinet. It was sprayed with
three coats of lacquer, then sanded. Then three more coats
and sanded again. It looked good after that, but for some
reason I decided to apply one more coat. Big mistake.
It had become humid outside and the final coat "bloomed."
Part of the cabinet turned frosty white as water molecules
mixed with the lacquer. I sanded it all out, sprayed it
again, and the same thing happened again. Now, I'm not a
violent man by nature, but... |
|
|
|
|
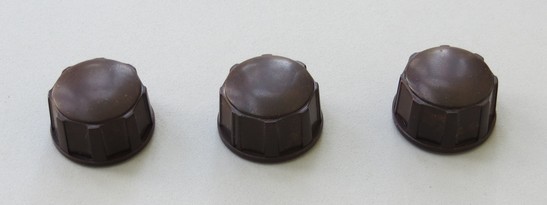
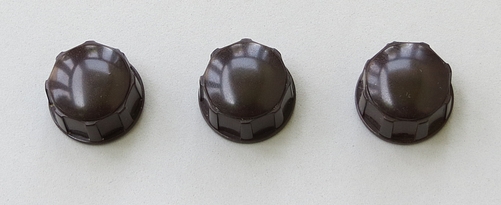
I thought these knobs would polish up in five minutes
flat. After an hour polishing the first one, I realized they aren't
plastic. They're Bakelite.
A Dremel with a polishing wheel was used on the other
two. |
|
|
|
|
|
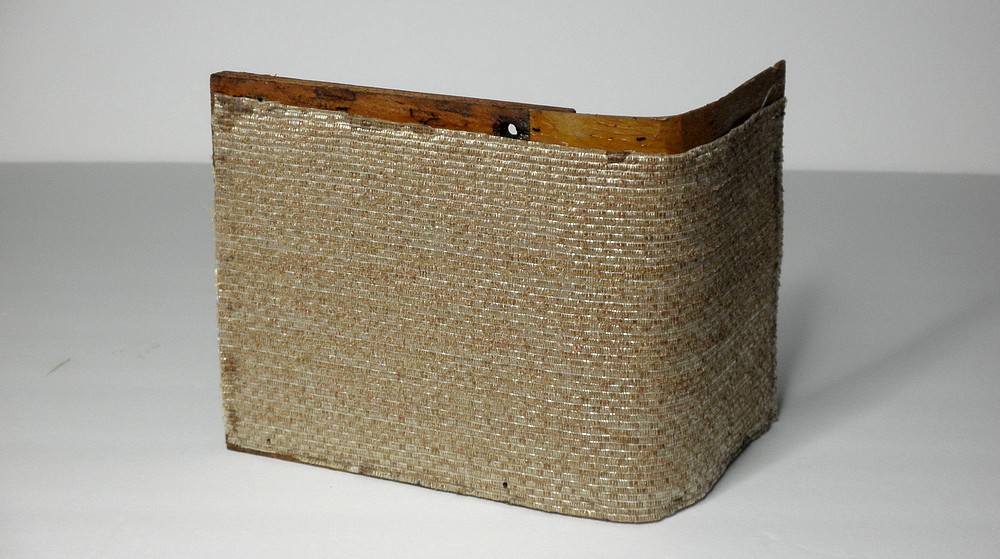
Here's the new grille cloth. It's not white. A white
grille cloth wouldn't look right in this old radio. |
|
|
|
|
|
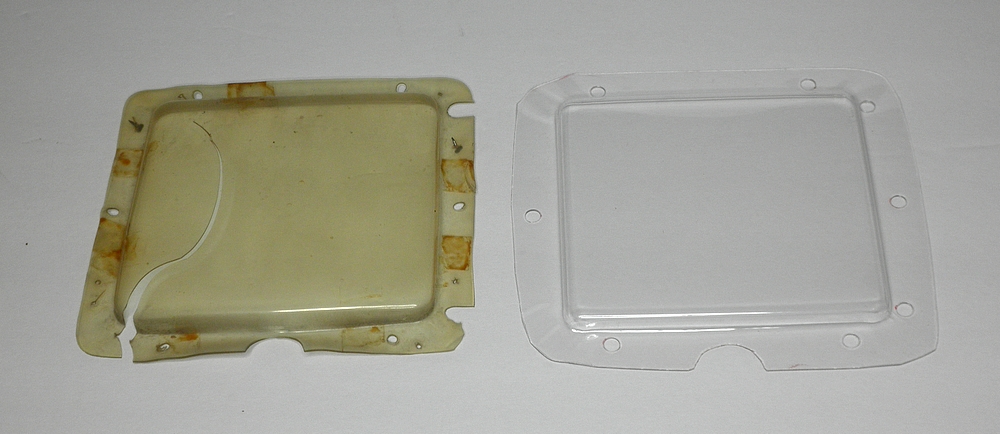
Old and new dial covers. |
|
|
|
|
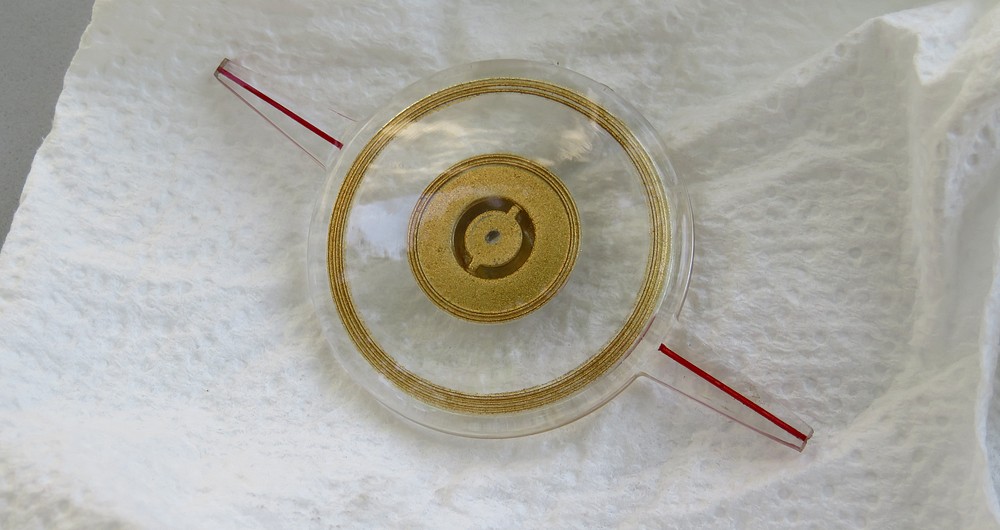
| After the dial was polished, it
looked brand new. It's crystal clear! What is this made out of?? |
| |
|
| |
|
|
| |