|
The Electromagnet: |
|
|
|
|
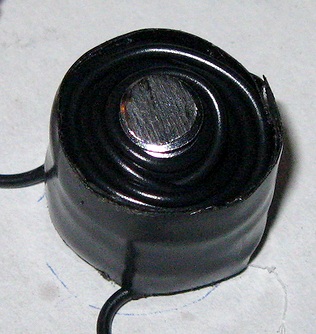
FAIL!
The first two electromagnets
made were failures.
I guess I should have made more
electromagnets when I was a kid. |
FAIL!
Both were wound on
a bolt. It seems the diameter of the core affects how strong
the magnet will be. |
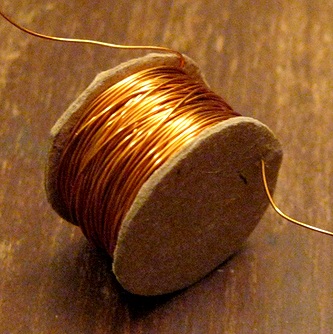
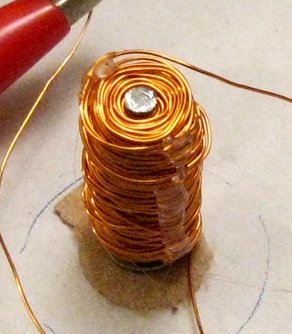
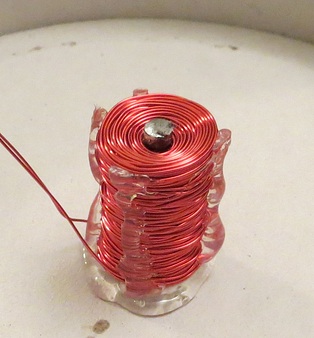
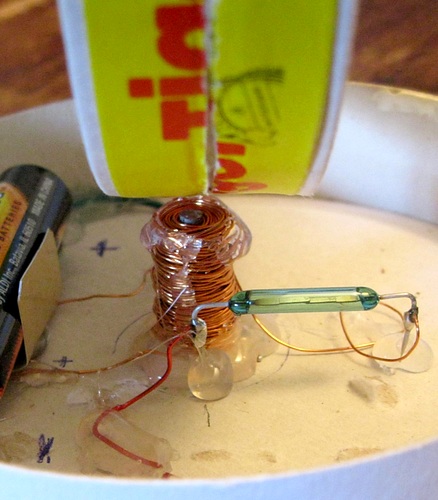
SUCCESS!
Wrapping the wire around a NAIL increased
the
strength of the magnetic field.
The wire
is 26 AWG magnet wire. |
|
Tips
on coil making: |
|
|
|
|
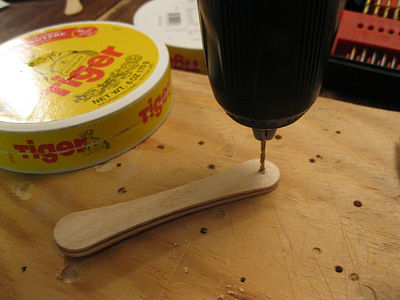
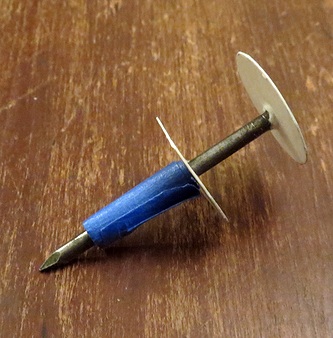
Make two disks of cardboard and put them on the nail. The
nail head holds one disk in
position, masking tape holds the
other. |
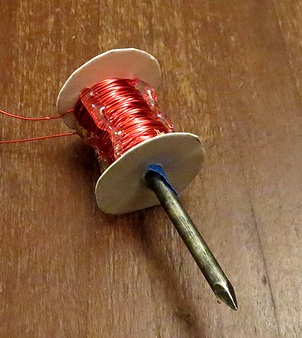
Wind the coil between the disks. This coil was made by
putting the nail in the chuck of a drill,
but
you can wind it by hand. Cut off the end
of the nail with a
hacksaw. |
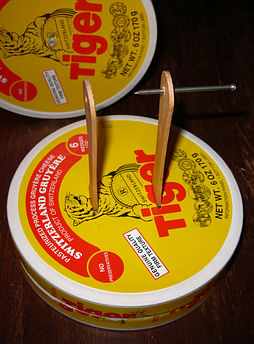
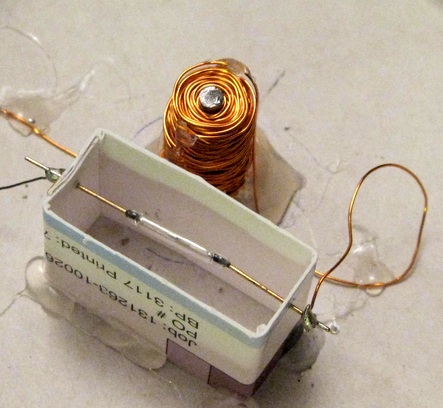
Use hot glue to hold the wires together, then peel off the
disks and glue it to the center of the cheese box.
Important: the nail must be iron or steel, not
aluminum. |
|
Tip:
Now is a good time to connect a battery to the coil and make
sure it repels the magnets in the top box. If it attracts,
reverse the battery wires. Mark the positive wire with a
piece of tape for later. |
|
Not a Tip:
Sorry, I have no idea how many turns of wire make up the
coil. It's about 1/3 of an inch in diameter. |
|
Tips
on reed switch placement: |
|
|
|
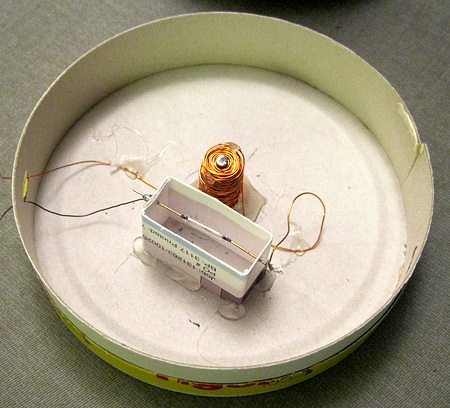
A
good
location for the reed switch was
found. The location is
critical.
|
The switch is not
directly in front of
the electromagnet, but off
to the side. Placing the switch
directly under the magnets in
the rotating box resulted in very poor
performance. |
|
The switches were burning out after about 20
seconds. I was only using 3 volts, two D cells in
series, and the switches were rated at 90 volts. A
different switch type was purchased but they
continued to burn out. I
had several theories on this.
Theory 1:
The two D cells produced more current than the
switches are rated for.
Theory 2: The
switches were crap. (They
came from China, from a guy named "Jimmy")
Theory 3: The magnets were coming by about 40
times a second (5 revolutions X 8 magnets) and were
too fast
for the switches to handle.
Theory 4: As the magnetic field collapsed it
produced a counter electromotive force in the coil
which could reach
over 100 volts. You could see the
sparking in the switch and hear it as a clicking.
I put a nine
volt battery in the circuit.
The switch burnt out instantly the first time
it was triggered.
A CLUE!
Apparently "Theory 4" was the correct one.
The two D
batteries were replaced with a half dead AA
battery. The box rotated perfectly and the switch
didn't burn out. |
|
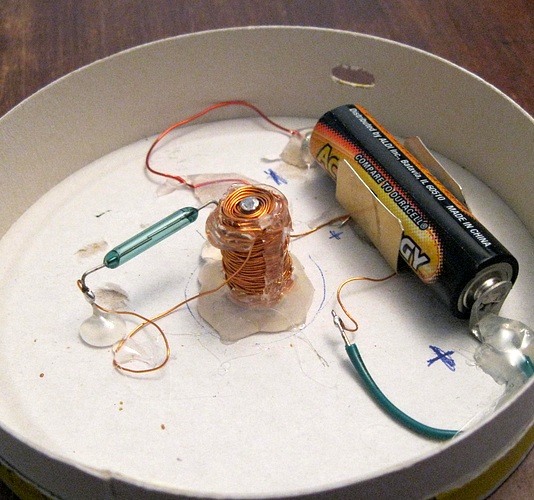
A battery
holder was made from a piece cut out of a tin can
lid and
everything was rather sloppily
glued together with a hot glue gun.
|
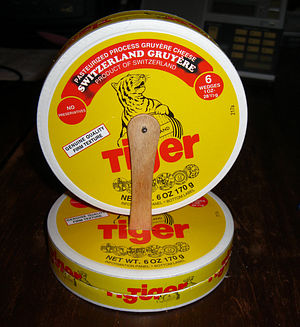
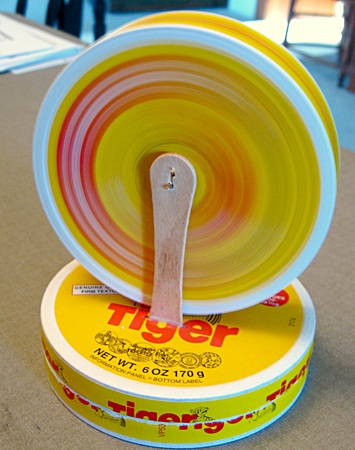
The
approximate positioning of the
top box in relation
to the
electromagnet and
the magnetic
reed switch. |