Making the
Rotating Part
|
|
|
|
| |
Step 1: Buy two containers of cheese of your choice
in a round box.
Eat all the cheese in one sitting.
|
|
|
|
You will also
need two popsicle sticks,
eight magnets, a nail, a drafting compass,
a piece of paper and a hot glue gun. |
|
|
|
|
|
|
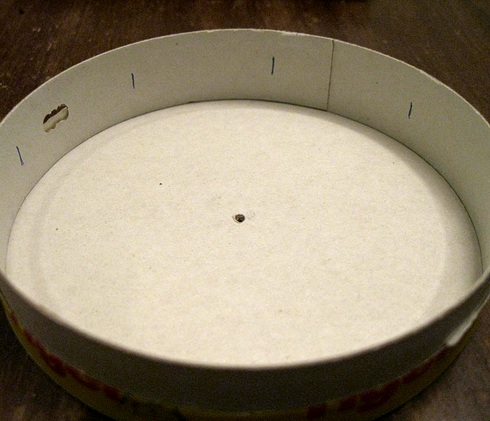
Using a compass and a piece
of paper, describe a
circle the same size as the inside
of the box. Again using the compass, divide it into eight sections. Cut it out,
place it inside the box and mark the eight positions. |
|
|
You can use the cheese in the box as a guide to make
the marks and use six magnets instead of eight.
The marks are where the
magnets will go.
Remove some of the cheese to mark the center of the
box. Eat all the cheese. |
|
|
|
|
|
| |
|
|
|
|
| |
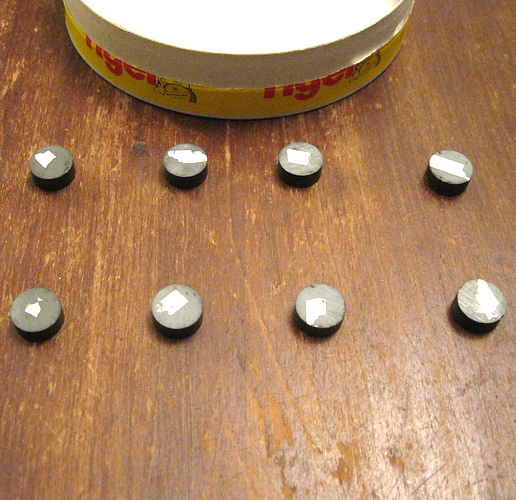
Mark eight magnets so all their poles
are the same.
It doesn't matter if they are north or south poles. |
|
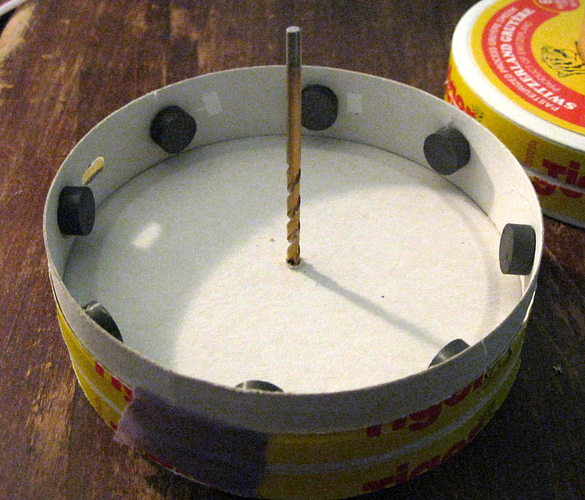
Glue the magnets in, all
poles
facing the same way. |
|
|
|
|
|
Now put the bottom and top
back to back and drill a hole through them. In this picture there is a piece of blue tape holding them together. |
|
|
|
Tip: When I put everything
together I found the top box had a wobble. I slid the two
halves around so the holes were aligned, but then it had a
hop. I got around this by cutting a piece of
coffee stirrer, enlarging the holes and pushing it through.
It was then adjusted to (almost) perfection and glued in with the glue gun. This had
an advantage of a near frictionless contact with the nail.
|
|
|
|
|
That was the easy part! |
|
|
|
|