 |
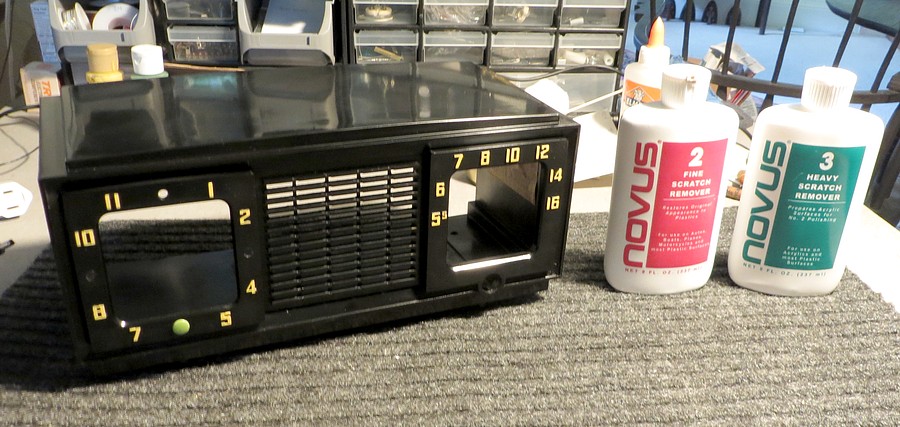
1954
Philco clock radio |
|
|
|
|
|
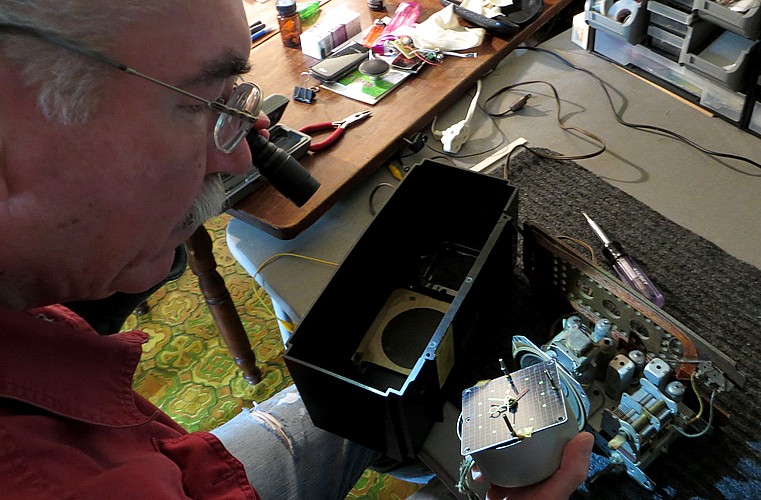
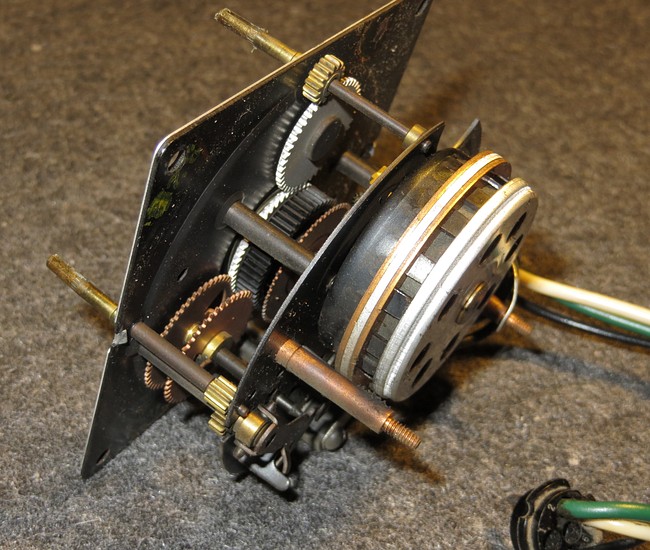
Taking the radio apart and examining the clock. This clock lost five minutes every
fifteen. It's odd for something that's alarmed to move so
slowly. Then I suddenly realized this must
be the very clock the Catholic Church uses to time their masses
on Sunday morning. I knew it was old but I didn't figure on
it being a relic.
Every tube in the set was from a different manufacturer.
12AV6 - Magnavox
12BA6 - RCA
12BE6 - TUNG-SOL
35C5 - Raytheon
35W4 - Philco
All the tubes have something like,
"WHEN REPLACING INSIST ON A GENUINE <brand name> TUBE"
written on them. Imagine going to Lafayette Radio, pounding
your fist on the counter and INSISTING they sell you a Philco tube. |
|
|
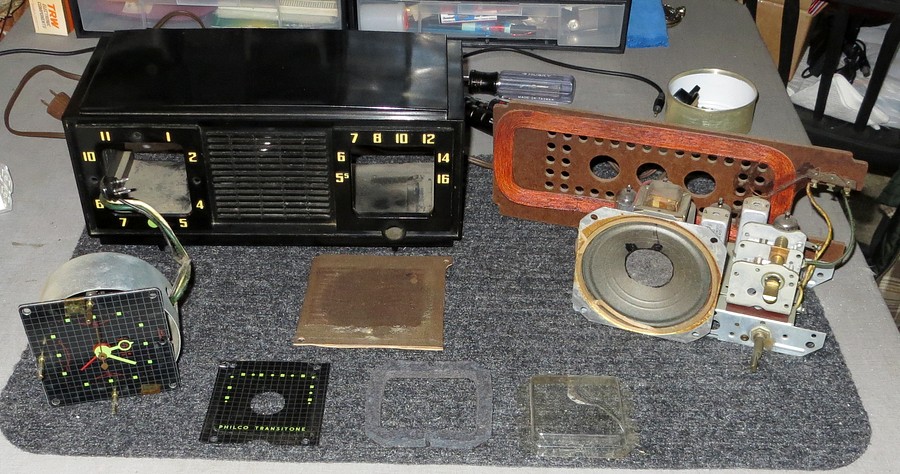
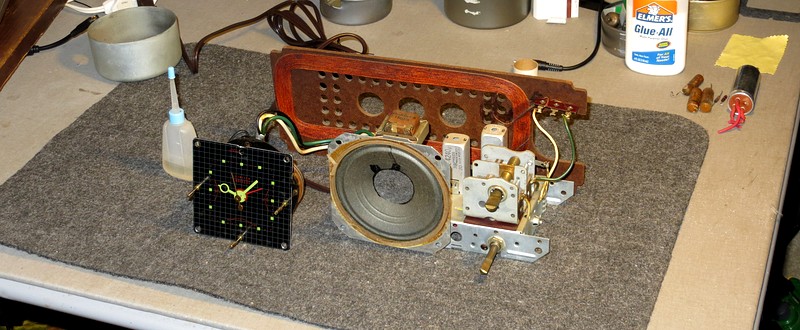
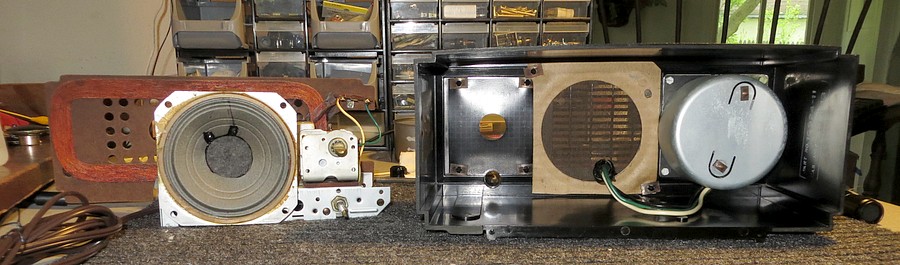
Here is the radio broken down to its
major components.
|
|
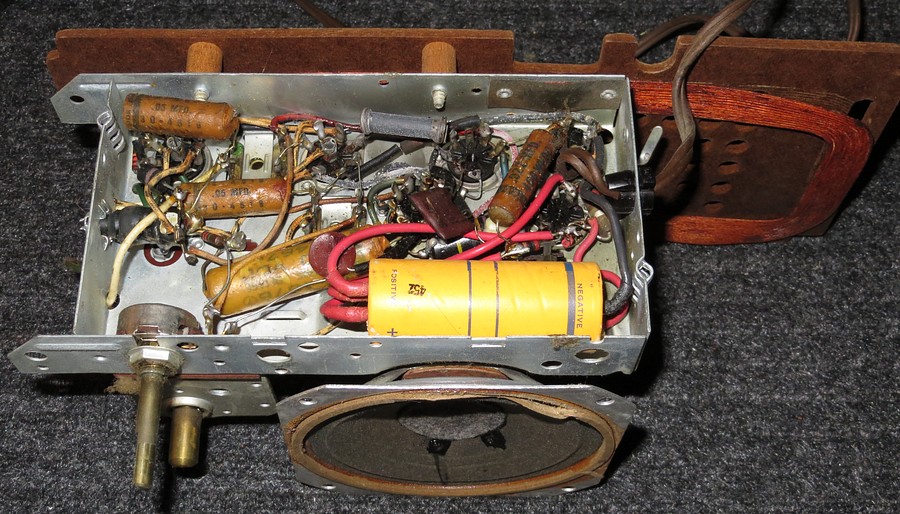
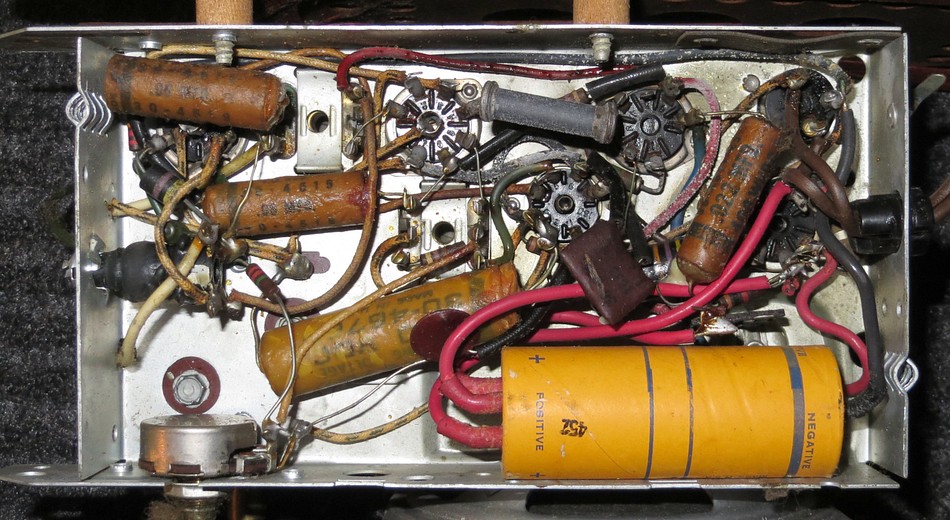
The underside. The chassis is only one
inch deep. Every part was made in the Philco factory in
Philadelphia and all assembled by hand (except for the big
yellow filter capacitor, which is what the repairman
replaced). I think it would have been cool to work at Philco
though I'm sure some of the jobs were absolute drudgery. |
|
|
|
|
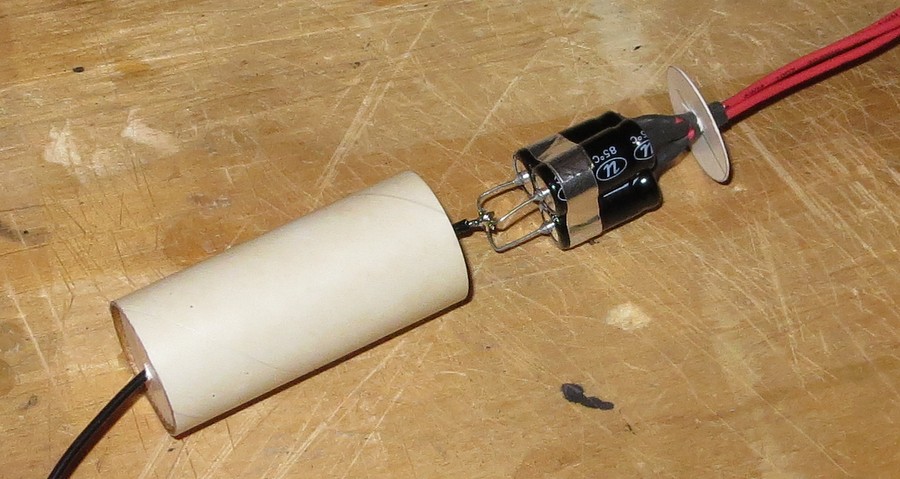
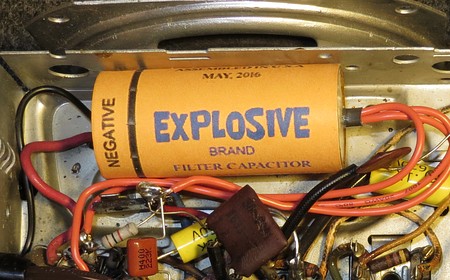
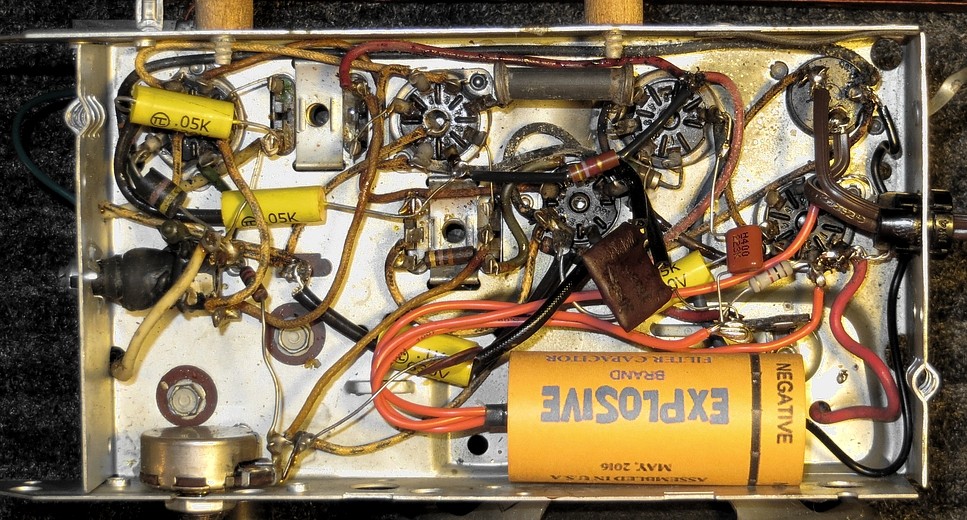
The very first thing done was to
replace the filter capacitor. Since you can't buy
one, I made one. |
|
|
|
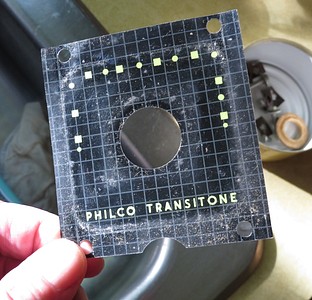
It needed a funny label. |
And it looks pretty scary inside the
radio! |
|
|
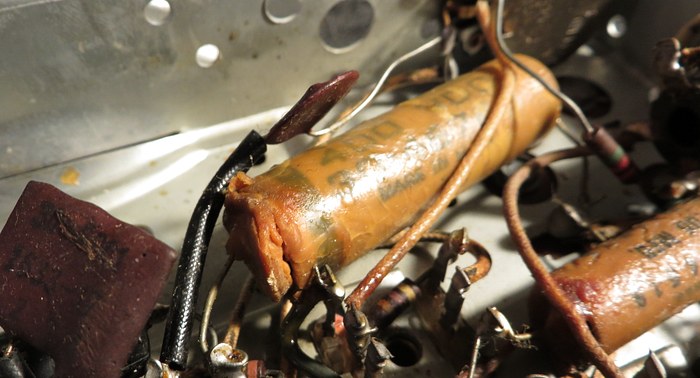
Next, the first capacitor to be replaced
was the big ugly one,
because the crack in the wax said, "Put me out of my
misery." |
|
|
|
|
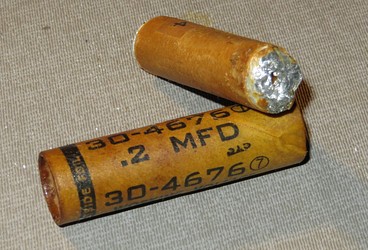
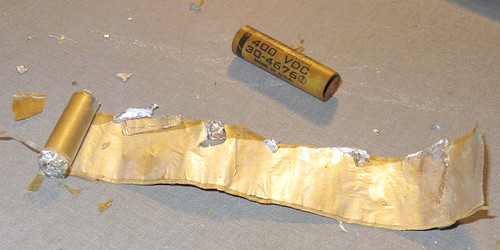
| Lets see what's inside it! The
wax coating is so tough you need a heat gun to melt it. Inside are two
strips of aluminum foil insulated from each other
with a strip of paper, tightly rolled up. The
aluminum is extremely thin, almost like gold leaf.
The outer case is very hard and seems to be made of
rolled paper and glue. |
|
|
|
|
Before and After. Notice a resistor appears near
the center. Explanation below. |
|
|
|
|
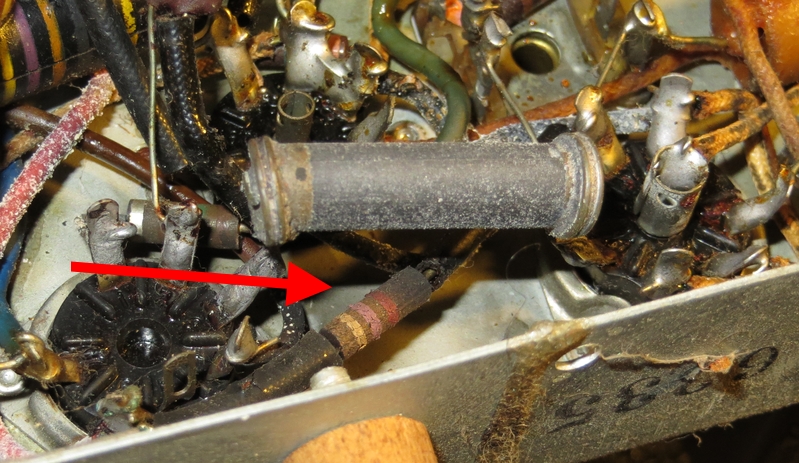
| In the "After" picture a resistor
mysteriously appears near the center of the photo. Here's
where it came from: In the
above photo, the large cylinder is a "tube saver"
resistor that is in series with the tube filaments. It was
designed to start out at 880 ohms and go down to 100 ohms as
it heats up. It gets
very hot.
In this picture the chassis is upside down.
When
it's right-side up the tube saver slowly cooks the small
resistor. The small resistor is rated
at 4700 ohms but tested at 5300 ohms.
It was replaced and moved out of the "oven" and that is what is appearing in the
"After" picture.
|
|
|
|
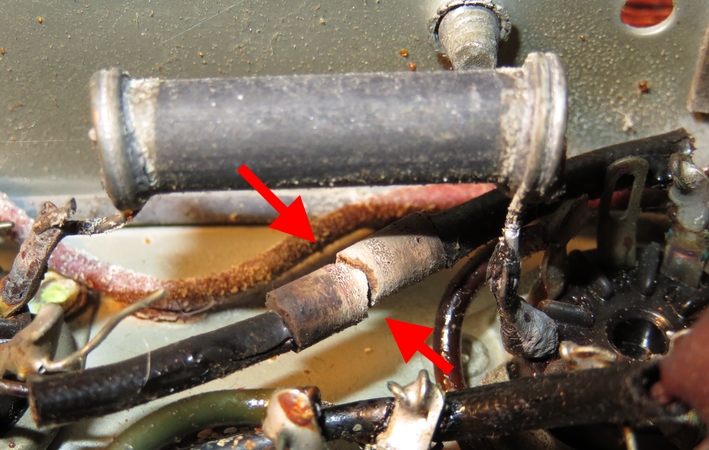
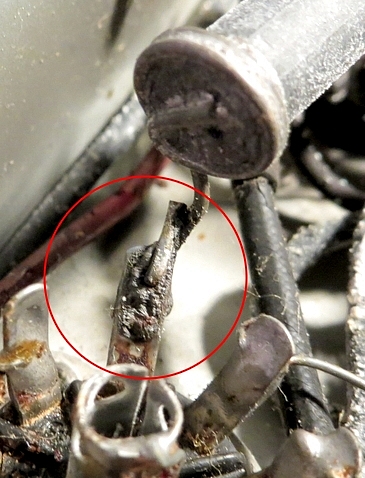
Eventually, THIS would happen to it. Many Philco
radios have this issue.
|
|
|
|
The "tube saver" gets so hot it burned up its
own solder connections. It's completely out of spec,
having cooked itself half to death. It starts out at 1260
ohms and only drops to 180 ohms. That's fine with me. |
|
|
|
|
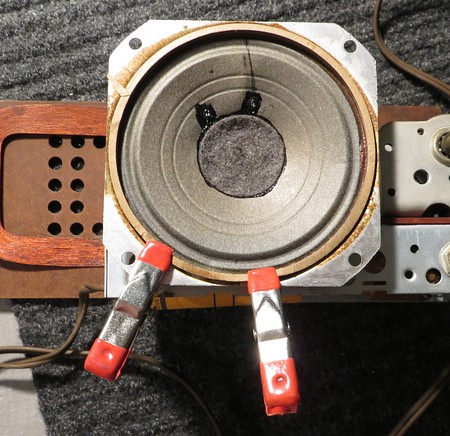
Next, it was time to fix the clock.
No pun intended. All I did was apply sewing machine oil to
all the pivot points and it fixed itself. As a matter of
fact, I oiled the dead clock from the other radio with the
same stuff and it came back to life. Sewing machine oil is
great for this purpose, as it doesn't gum up and turn to
varnish with age.
If I were the Tin Man from the Wizard Of
Oz I would use sewing machine oil on myself. I would drink
it and take a bath in it, because the Tin Man wasn't made of
tin, otherwise he would never have rusted.
|
|
|
|
|
Testing the clock. You can't power the clock
without the radio, and you can't power the radio without the clock. |
|
|
|
|
|
|
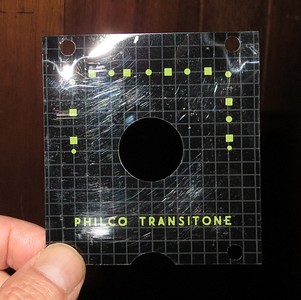
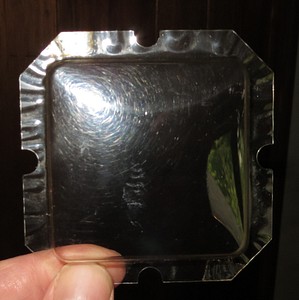
Now it was time to work on the cabinet. Everything
was dirty and scratched. It's 62 years old. |
|
|
|
|
|
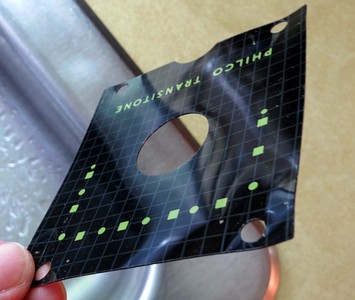
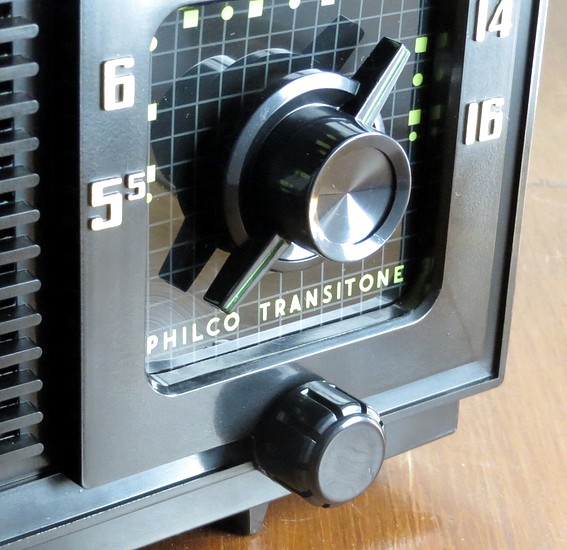
| After
cleaning and polishing. Fortunately, the graphics are
printed under the
clear plastic (left photo). |
|
|
|
|
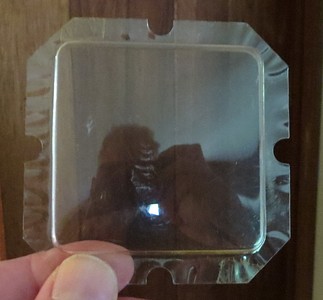
The cabinet was polished for hours
and hours, then the numbers were repainted on the case. I
almost became obsessed with polishing this thing. Whenever I
had some spare time I'd sit down and polish it.
It was a great excuse to get out of housework. When
asked to lend a hand I
would scream, "CAN'T YOU SEE I'M BUSY??"
They say you can't polish Bakelite, but I did. |
|
|
|
|
|
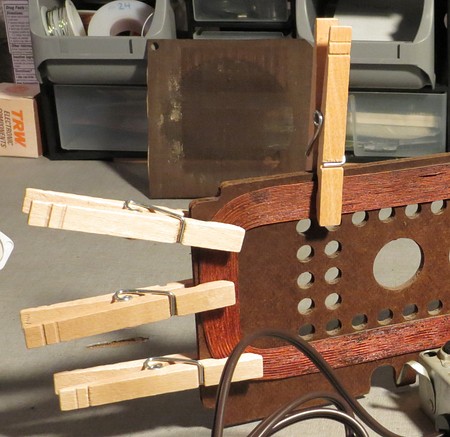
A few minor fixes were made with some
Elmer's Glue-All. |
|
|
|
The set was
tested and then everything reassembled into the sparkling clean
cabinet.
When I say "tested," I mean I turned it on and it worked. It didn't
actually work all that well. |
|
|
|
|
...but it's safe to touch the controls now.
|
|
|
The set picked up some local
stations but was completely silent between stations. I tried
to convince myself that this was a "feature" but I knew
something was wrong. I wrote to the guys at the
Radio Board.
Ham-er and Bob Weaver asked what kind of
voltage I was getting on the Automatic Volume Control (AVC).
I turned the set on to measure the AVC voltage and it was stone
dead, except for a sizzling noise at full volume. |
|
|
|
|
|
|